Chester Zoo BumblebeeAbode

Since September last year, Arbarus and I have been working on a commission for Chester Zoo‘s new Bumblebee Garden to create a home for Bumblebees. Based around a used garden shed, the structure houses a number of Bumblebee boxes to provide a safe, dry environment for the bees to nest in.
The project kicked off last year on a sunny day in September with a drop-in workshop at the Zoo’s Wildlife Connections Festival. We worked with Chester Zoo’s visitors creating lots of artwork to decorate the outside of the shed, whilst learning about the best flowers to plant in your garden to attract bumblebees.


Over the winter, Arbarus did lots of research into the right type of home for bumblebees, designed and built the shed and then we worked together to finish it, using all the artwork created at the festival to decorate it. The shed was installed on a chilly January day, to give it time to bed in and for the brilliant horticulture team to create the shed’s green roof and plant up around it before the queen bumblebees start to emerge. We aim to return soon to get some pictures of the shed with some green around it, instead of just some January mud! Fingers crossed that some bumblebees will have moved in too…
STOP PRESS! Whilst we await with bated breath for good news from Chester Zoo, Arbarus has had success with his own bumblebee boxes. Two of the homes are now occupied by queen bees and there is a quiet satisfaction in watching them go in and out of their nests…


Mosaic Fish for RHS Tatton
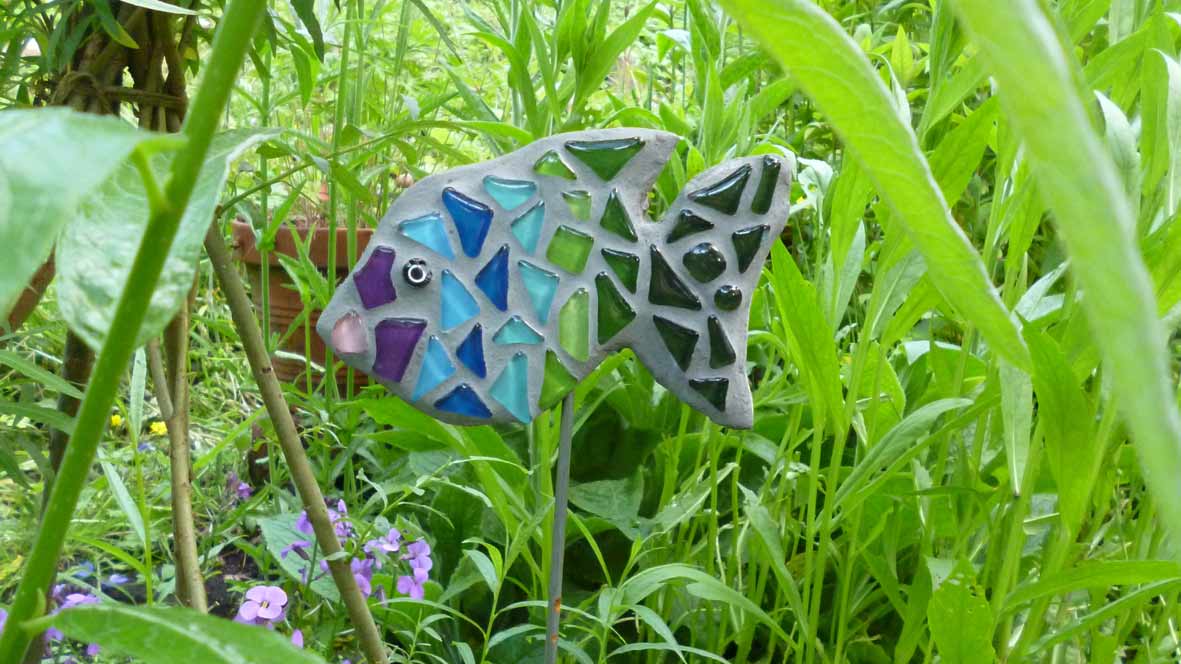
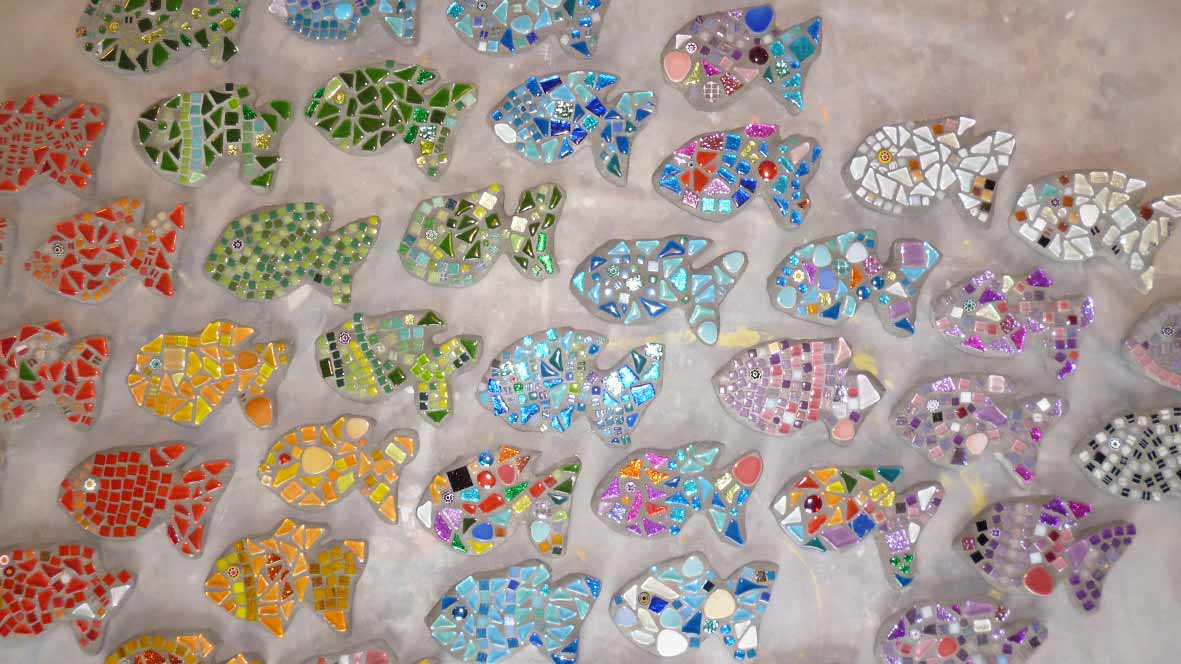
The other artwork to be included in New Charter’s RHS show garden will be 45 mosaic fish, all swimming amongst the flowers and plants that represent the sea. Each double-sided mosaic fish is mounted on a steel rod and they will be displayed individually and in shoals. The fish were all made by young people from the New Charter Dreamscheme group and they look absolutely fantastic. Here’s one I made as an example being ‘roadtested’ in my garden.
And here’s the young people’s fish, grouted and ready to have their steel rod attached. There’s a big complicated table which lists whose fish is whose – everyone that made a mosaic will get it back once Tatton has finished.

Waste Creative starts
Woodend Artists have started the Waste Creative project with a series of workshops making animal sculptures from recyclable materials. Working with three different groups of young people from the New Charter estates in Mossley, artist Richard Dawson and myself, Jacqui Symons used milk bottles, plastic pop bottles and cardboard to create group sculptures of a wolf, a giraffe and an elephant and smaller individual sculptures.
The next part of the project is a visit to the Recycling Centre in Sharston, Manchester and then we’ll start to create an information booklet that will be for New Charter residents and will include information about recycling and what can and can’t be recycled.

The Big Green Recycled Queen
Myself and Richard Dawson worked with local kids to make this amazing sculpture to celebrate the Jubilee in Hyde Park, Manchester. We made it in one day and everything is made from recycled materials (except for cable ties, brown tape and plastic tags).
The milk cartons mostly came from The Flying Teapot Cafe at Woodend Mill and the bottles from New Charter Housing Association. A few of the group worked all day on the sculpture with others dropping in and out throughout the day.
Here’s the finished Queen after we had a mini-coronation…

Johnson Fold Lantern Parade
Three weeks of frantic lantern making ended on Friday with a brilliant lantern parade on the Johnson Fold estate in Bolton. During the three weeks leading up to the event I worked with holiday clubs, Johnson Fold Primary School, a mums and tots group and the Youthopia Youth Club to create a multitude of lanterns. Most groups made the traditional pyramid lantern – we had almost 80 of these at the final count!
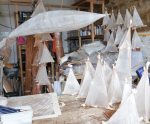
Youthopia also created some large-scale lanterns – the only rule was that they must be small enough to get out the front door of the youth club! Everyone really got into it and worked really hard to make some amazing shapes and characters out of withies – we had a fish, a shark, a dress, some headphones and an ice-cream amongst others.
I had to have a few late nights in the workshop (music as loud as you like once your neighbours have gone home – yippee!) tweaking, securing fastenings and adding LED tealights to get them all ready for the big day. I then had a tense couple of hours on Friday bringing the lanterms down on our (outdoor) hoist whilst the wind and rain raged but finally got them successfully delivered to Bolton At Home’s newly finished UCAN centre on the estate. Here’s some photos of the parade and the lanterns with the children and young people who made them.


Lantern Parade and … it’s suddenly become Withy Central
For the next couple of weeks I’m working with lots of groups in Johnson’s Fold, Bolton to create withy lanterns for their lantern parade, organised and funded by Bolton at Home. Here’s one I made as an example…

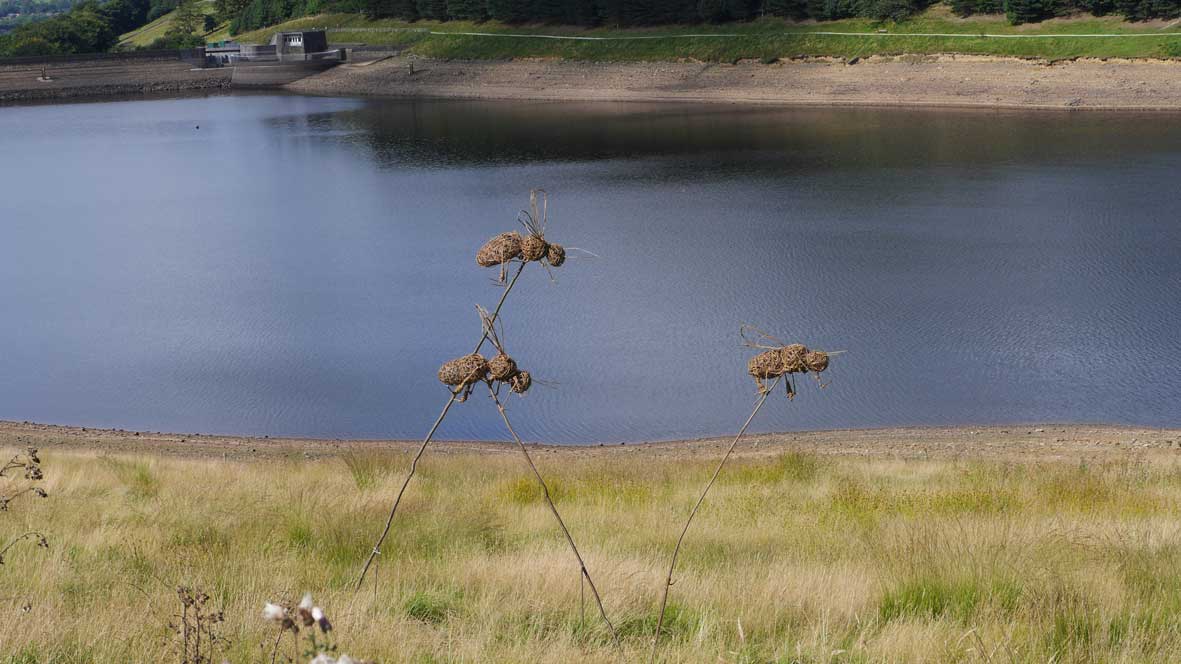
I’m also about to start making some withy / willow sculptures with a New Charter group in Mossley, Tameside for the RHS Tatton show garden. One of them is going to be an enormous snowman, which feels entirely appropriate after the snow we had last week! I’ll be using brown willow for this so I’m currently soaking the withies in my lovely new ‘water trough’ – a perfect shape and size for the job. I’ll post a picture when I remember to take one…
Working with children: mosaic workshops
I’ve just finished a set of mosaic sessions with a group of 16 eight to fourteen year olds. I thought it might be useful to provide others with some tips and observations for working with children on mosaics…
The mosaics we were creating are eventually bound for RHS Tatton so needed to be suitable for exterior use – adding a further complication – eight year olds and cement-based adhesive in a carpeted room (gulp) just don’t mix!
Tip 1 – Draw the designs first. You can get the group to come up with some designs in an initial session but I’d really recommend taking these away and translating them into drawings suitable for mosaicing – ie. simplifying them, getting them to the correct size and outlining in a nice thick pen.
Tip 2 – Make the drawing/design smaller than the FINAL size. If you’re working to a specific size always bring the border / edging line in by 20mm ish. Regardless of how many times you tell them, the kids will always go over the lines rather than up to them so you need a bit of extra space – you can always add extra pieces around the edge if necessary.
Tip 3 – Use the double indirect method. You can look up this process in any good mosaic book or on t’internet but you basically work with brown paper, watered-down PVA and the mosaic tiles in the group sessions, simplifying the process and removing hazardous materials from the workshop. Draw designs onto brown paper and then stick the mosaic tiles (facing up) onto this with the PVA. This will create extra work for you in the long run but removes the need to use cement-based adhesive with the group. Changes and errors are also easily rectified as the tiles have only been stuck down with a weak PVA mixture. However, if doing interior mosaics I’d just use the direct method and stick directly to your mosaic base with a strong PVA.
Tip 4 – Use pre-formed mini-tiles. Of course this is a matter of personal choice and the style you are aiming for but I have found using pre-formed tiles much easier and safer to use in workshops with children, especially those 12 and under. This does create limitations in terms of shaping etc but there are a great selection of tiles available – not just the 10mm square glass vitreous tiles. You also don’t need to worry about safety goggles, flying shards, sharp edges, cuts and pinched fingers!
Tip 5 – Sort the mosaic tiles into groups of colour. Don’t try and keep all the tiles in individual colour and type order. It won’t work or will drive you crazy sorting them out at the end of the session. Instead have big trays of reds, greens, blues etc – the kids will enjoy sorting through to find the tile / exact colour they want and they are much easier to keep sorted.
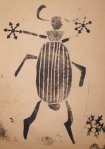
Tip 6 – Use a single colour to edge shapes. Depending on the subject of the mosaic, I have found it works really well to edge items within the mosaic picture with a strong contrasting colour. For RHS Tatton we created mosaics of bugs and some of them were such a celebration of colour(!), they needed a strong line to define the bug from the background. Again, this is personal choice but does help if you find the main focus of the mosaic is disappearing amongst the surrounding colour.
Tip 6 – Give your group some basic guidelines. It’s easy to take simple mosaicing techniques for granted when you do it a lot – what seems obvious to you won’t be obvious to the group and it’s worth giving them some easy rules to follow. Include: leaving a gap between the tiles, not using too much glue, sticking the tiles the right way up and keeping the tiles on one level (ie. don’t build them up in stacks).
Think that’s probably it for now, though I’m sure I’ll think of some more…
Depending on age and ability of group, it’s nice to include them in the grouting though I’ll usually do the ‘sticking on’ stage using the cement-based adhesive myself. If you are going to get your group grouting, they’ll need gloves and possibly masks.
Hyde Orchard Creative Sessions – Day Three
Block printing and paper mosaics on the menu today…
We had a school gardening group in the morning and trainees from the Park Cafe in the afternoon. The Cafe provided us with a lovely buffet and afternoon tea and cakes!


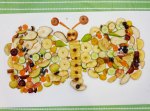
Hyde Orchard Creative Sessions – Day Two
Beautiful sunshine for our second day of creative sessions for the Hyde Park Community Orchard artwork. First, a game of Fruit Salad outside with a massive parachute, then inside for workshops with two consecutive groups of 30 children from Flowery Field Primary School. The groups created lots of mosaics – made from fruit (and veg) and also paper.