How to make a show garden in one minute and 32 seconds
Actually, this is just two days work from the build of the ‘A Day at the Seaside’ show garden at RHS Tatton 2013. The timelapse shows the arrival of the plants and myself, Peter Castle and my dad (in the orange!) starting to position them. Note the Green Charter lads doing a sterling job filling and sanding the boardwalk on what was the hottest day of the build.
RHS Tatton Flower Show 2013 – second silver medal!
For the second year running, myself and Peter Castle have won a silver medal at the RHS Tatton Flower Show for New Charter’s show garden ‘A Day at the Seaside’. We also went one step better this year with the garden featured on the BBC2 programme about RHS Tatton. Joe Swift commented that though the design was simple ‘it really worked’ – yes!!!
This year’s build has had it’s own challenges with the non-stop heat and little shade but I think I prefer it to sideways rain! I’m really pleased with the overall effect and think the planting has worked really well. Thanks to Brentwood Moss Nurseries for the plants – incredibly helpful and fantastic quality. Thanks also to all the volunteers and helpers who did a brilliant job, especially my sister and my Dad!
Here’s a few screen shots from the BBC programme – they have the advantage of a camera on a crane so there are some good overhead shots! And one of Joe Swift admiring the plants and mosaic fish…


Mosaic Fish for RHS Tatton
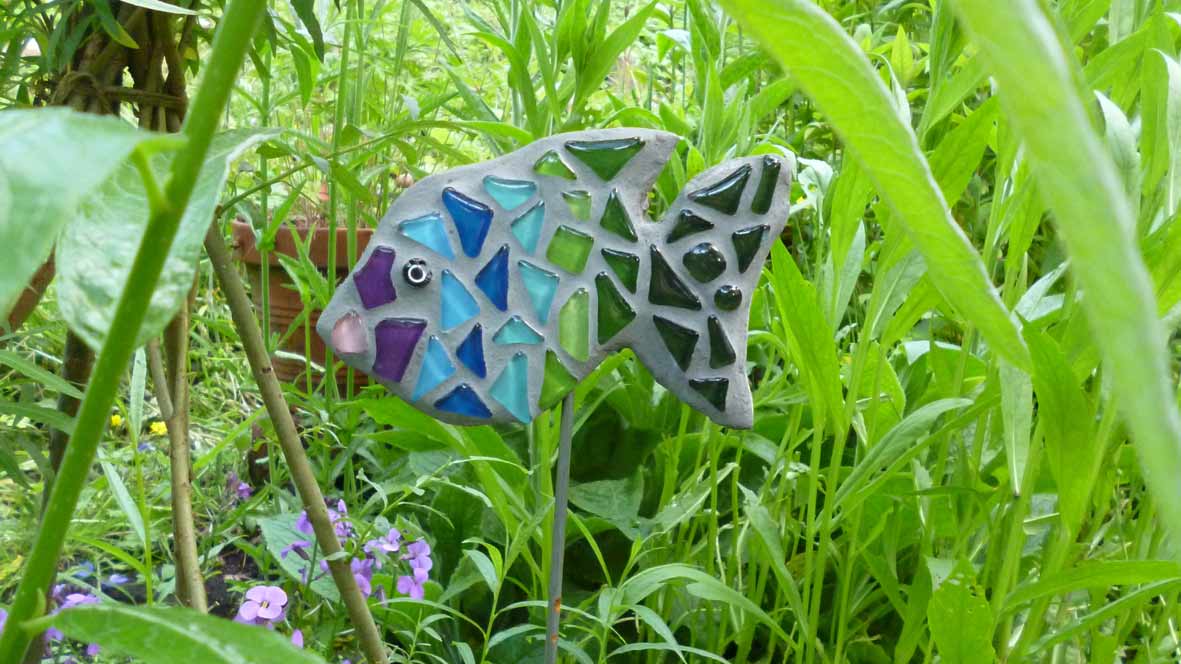
The other artwork to be included in New Charter’s RHS show garden will be 45 mosaic fish, all swimming amongst the flowers and plants that represent the sea. Each double-sided mosaic fish is mounted on a steel rod and they will be displayed individually and in shoals. The fish were all made by young people from the New Charter Dreamscheme group and they look absolutely fantastic. Here’s one I made as an example being ‘roadtested’ in my garden.
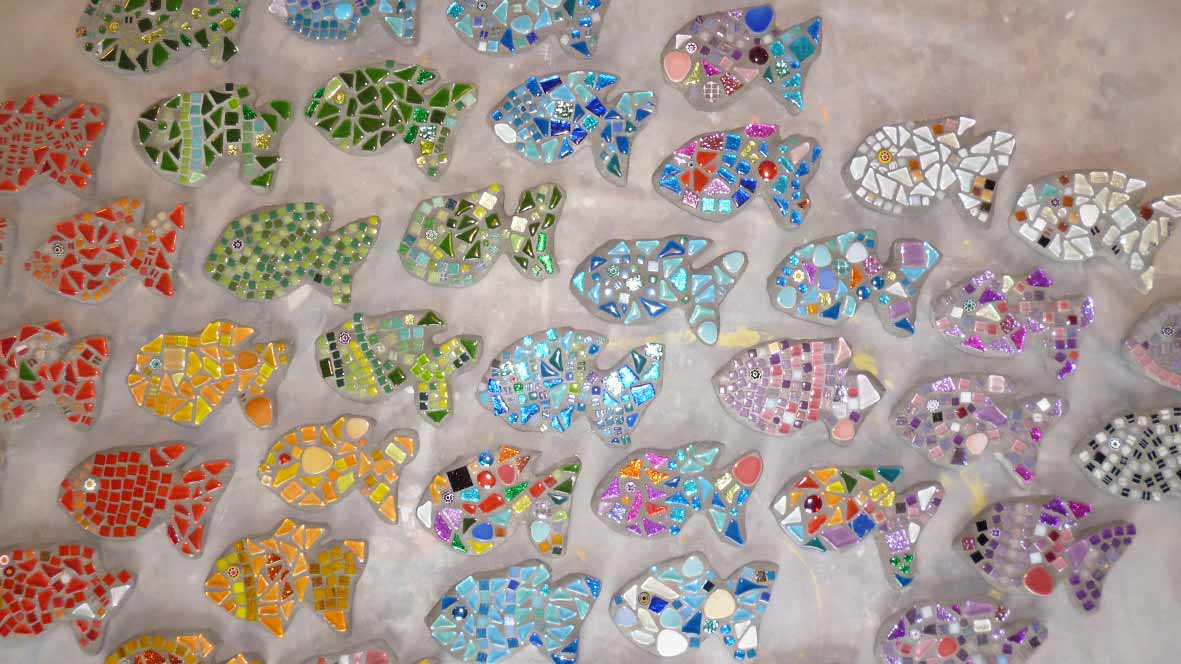
And here’s the young people’s fish, grouted and ready to have their steel rod attached. There’s a big complicated table which lists whose fish is whose – everyone that made a mosaic will get it back once Tatton has finished.

‘Beside the Sea’ show garden for RHS Tatton
Here’s the design for the 2013 show garden for New Charter Housing’s Dreamscheme. Inspired by young people’s ideas of the seaside, the garden aims to depict both the water and the beach with a boardwalk separating the two. For the second year Peter Castle and myself worked together to create the final design, planting plan and plant list, whilst I created the drawing shown here.
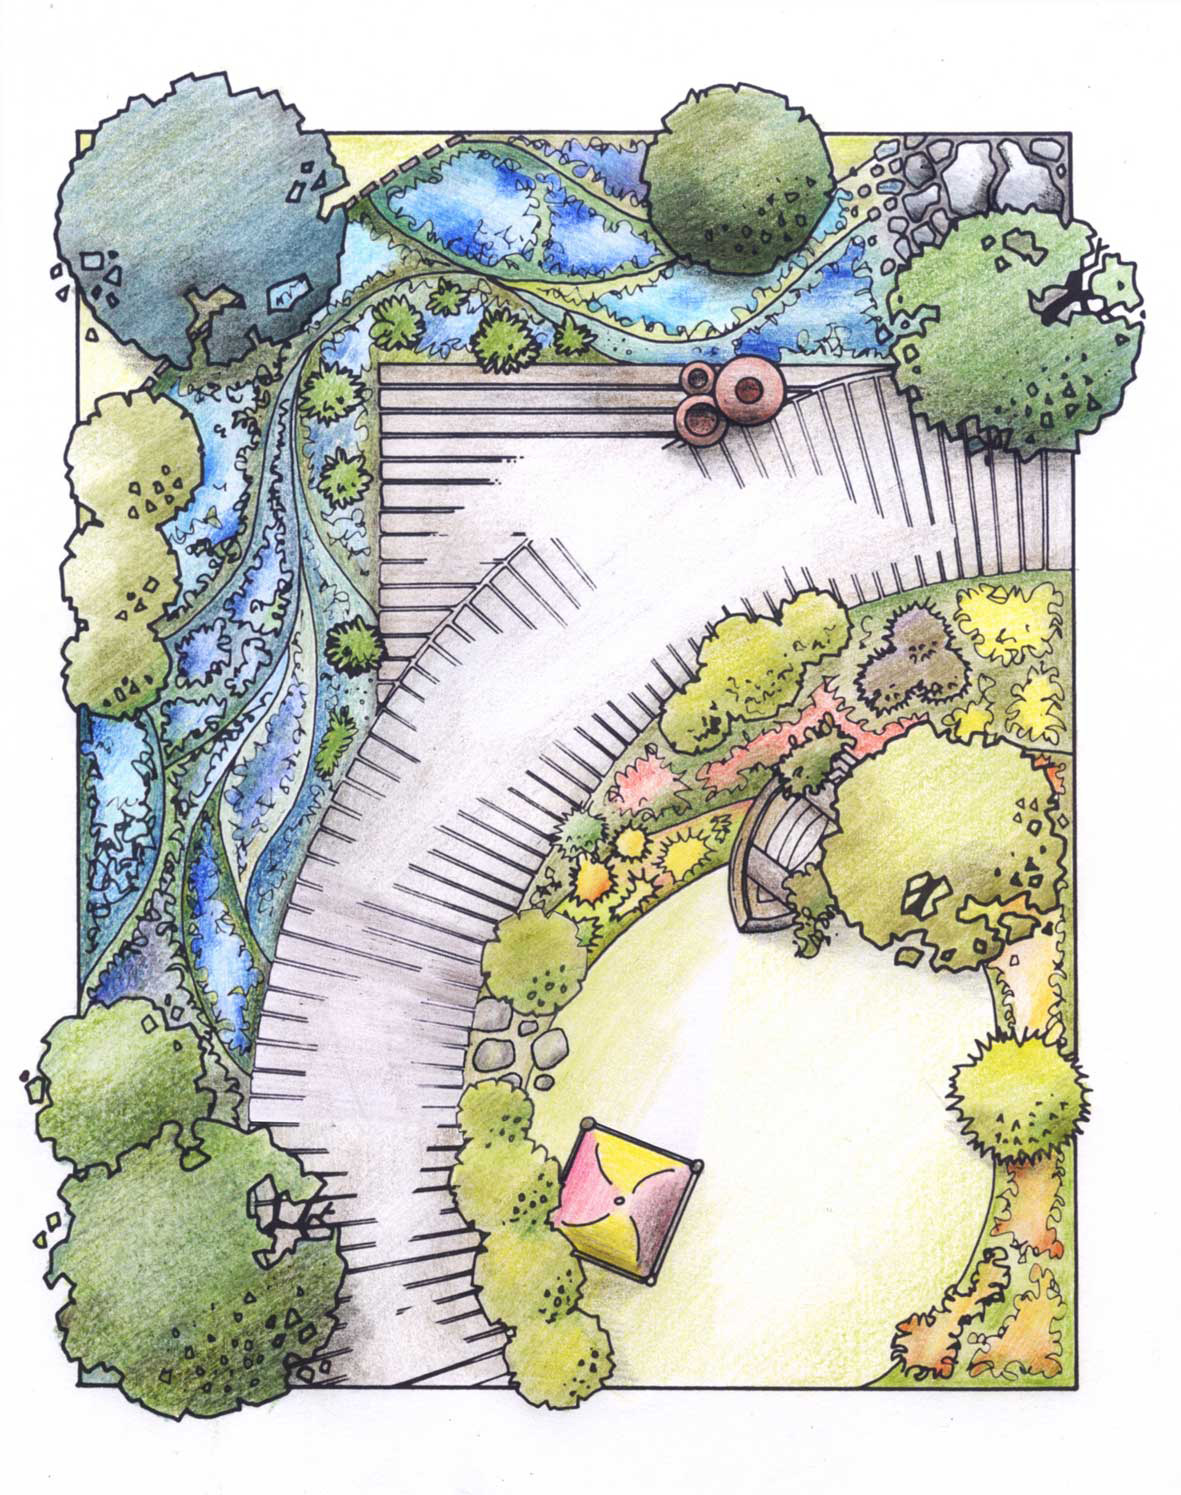
I’m also working on an axonometric drawing of the garden, which is a new thing for me – I’ll post it once finished!
Planning for RHS Tatton Flower Show
Following last year’s show garden success at RHS Tatton, planning is well under way for 2013’s garden. With a theme of ‘Beside the seaside’, I’m thinking of digging out my bucket and spade for a trip to the beach. Working with New Charter’s ‘Dreamscheme’ youth group, the design is inspired by a traditional english seaside holiday and will feature elements and inspiration from the seaside.
I’ve been working on the planting plan with Peter Castle and I’ll be putting together a design for the RHS Programme and publicity using my newly learnt garden design and rendering skills! In the meantime, last year’s garden has been used to promote the show in the RHS Magazine…

RHS Tatton – Silver Medal!

Following two weeks of hard slog in the rain at the RHS Tatton Flower Show, we have been awarded a silver medal for our show garden ‘A Year in the Life of the DreamScheme’. The culmination of 12 months of work and preparation, the garden shows the young peoples’ journey through Spring, Summer, Autumn and Winter using colour, texture, planting and artwork to recreate the seasons.
Myself and Peter Castle worked with young people from New Charter estates to interpret their ideas and designs and turn them into a show garden. Using a circular format as the starting point, we designed each section to represent one season looking at overall effect, impact, the relationship between the seasons and plant associations. Our final plant list included over 100 different types of plants totalling almost 1000 individual specimens.
Once on site, the hard physicial work began, with the hard landscaping and building happening first, followed by laying out and lots (trust me – lots) of digging, then planting. The finishing touches included placing all the artwork made by the young people (mosaic slabs, withy sculptures, Colin the mosaic corgi etc), checking over plants and trees and dressing the garden.
Achieving a silver medal for a first attempt at a show garden is a massive achievement, so we are all incredibly pleased. New Charter received a bronze medal for their first show garden in 2010, so the pressure was on to gain an equivalent or better rating!
Next year, we thought we’d give the silver gilt medal a miss and just go straight for gold..!


RHS Tatton – Withy Sculptures
The withy sculptures for New Charter’s show garden at RHS Tatton are starting to come together. Here’s a couple made by the young people I’ve been working with but currently perching on the sofa in my studio…


Lantern Parade and … it’s suddenly become Withy Central
For the next couple of weeks I’m working with lots of groups in Johnson’s Fold, Bolton to create withy lanterns for their lantern parade, organised and funded by Bolton at Home. Here’s one I made as an example…

I’m also about to start making some withy / willow sculptures with a New Charter group in Mossley, Tameside for the RHS Tatton show garden. One of them is going to be an enormous snowman, which feels entirely appropriate after the snow we had last week! I’ll be using brown willow for this so I’m currently soaking the withies in my lovely new ‘water trough’ – a perfect shape and size for the job. I’ll post a picture when I remember to take one…
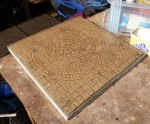
Mosaic Snail – completed
Realised I hadn’t posted a completed image of mosaic snail paving slab. Here it is alongside some images of process – dampening brown paper and then removing paper from mosaics before cleaning up grout. I suppose I should take one of it in situ too…


Working with children: mosaic workshops
I’ve just finished a set of mosaic sessions with a group of 16 eight to fourteen year olds. I thought it might be useful to provide others with some tips and observations for working with children on mosaics…
The mosaics we were creating are eventually bound for RHS Tatton so needed to be suitable for exterior use – adding a further complication – eight year olds and cement-based adhesive in a carpeted room (gulp) just don’t mix!
Tip 1 – Draw the designs first. You can get the group to come up with some designs in an initial session but I’d really recommend taking these away and translating them into drawings suitable for mosaicing – ie. simplifying them, getting them to the correct size and outlining in a nice thick pen.
Tip 2 – Make the drawing/design smaller than the FINAL size. If you’re working to a specific size always bring the border / edging line in by 20mm ish. Regardless of how many times you tell them, the kids will always go over the lines rather than up to them so you need a bit of extra space – you can always add extra pieces around the edge if necessary.
Tip 3 – Use the double indirect method. You can look up this process in any good mosaic book or on t’internet but you basically work with brown paper, watered-down PVA and the mosaic tiles in the group sessions, simplifying the process and removing hazardous materials from the workshop. Draw designs onto brown paper and then stick the mosaic tiles (facing up) onto this with the PVA. This will create extra work for you in the long run but removes the need to use cement-based adhesive with the group. Changes and errors are also easily rectified as the tiles have only been stuck down with a weak PVA mixture. However, if doing interior mosaics I’d just use the direct method and stick directly to your mosaic base with a strong PVA.
Tip 4 – Use pre-formed mini-tiles. Of course this is a matter of personal choice and the style you are aiming for but I have found using pre-formed tiles much easier and safer to use in workshops with children, especially those 12 and under. This does create limitations in terms of shaping etc but there are a great selection of tiles available – not just the 10mm square glass vitreous tiles. You also don’t need to worry about safety goggles, flying shards, sharp edges, cuts and pinched fingers!
Tip 5 – Sort the mosaic tiles into groups of colour. Don’t try and keep all the tiles in individual colour and type order. It won’t work or will drive you crazy sorting them out at the end of the session. Instead have big trays of reds, greens, blues etc – the kids will enjoy sorting through to find the tile / exact colour they want and they are much easier to keep sorted.
Tip 6 – Use a single colour to edge shapes. Depending on the subject of the mosaic, I have found it works really well to edge items within the mosaic picture with a strong contrasting colour. For RHS Tatton we created mosaics of bugs and some of them were such a celebration of colour(!), they needed a strong line to define the bug from the background. Again, this is personal choice but does help if you find the main focus of the mosaic is disappearing amongst the surrounding colour.
Tip 6 – Give your group some basic guidelines. It’s easy to take simple mosaicing techniques for granted when you do it a lot – what seems obvious to you won’t be obvious to the group and it’s worth giving them some easy rules to follow. Include: leaving a gap between the tiles, not using too much glue, sticking the tiles the right way up and keeping the tiles on one level (ie. don’t build them up in stacks).
Think that’s probably it for now, though I’m sure I’ll think of some more…
Depending on age and ability of group, it’s nice to include them in the grouting though I’ll usually do the ‘sticking on’ stage using the cement-based adhesive myself. If you are going to get your group grouting, they’ll need gloves and possibly masks.


